 |
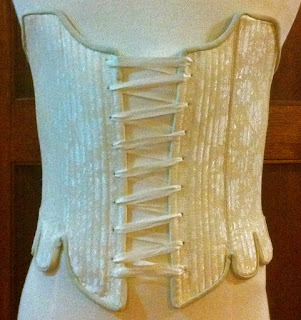
| 18th Century front-lacing stays made in February 2011 |
 |
| Recent self-taken photo of me in the stays |
My New Year's resolution was two-fold - to make more historically accurate garments but to make them really special so that I could have a "me" year. In the past I've made my garments in a hurry just days before an event - this time I was slowing down, using historically accurate patterns and techniques where possible, and using special fabrics.
My first project of the year was a set of front-lacing 18th century stays, inspired by a set of stays in the Metropolitan Museum of Art in New York, dated 1750-75. I loved the large "V" at the front, and the option to be able to lace them up by myself. My son thought it a good idea as well.
 |
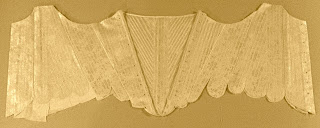
| Corset, c.1750-70 C.I.39.13.206a, b |
Having successfully used the JP Ryan Strapless Stays pattern in the past, I brought it out again. My last stays made in 2006 are still in use for 4-5 balls a year, with only light rubbing of the bone through the ribbon bias binding. They are super-comfortable and I'd recommend them highly for dancers. I changed the pattern at the back this time to add in optional shoulder straps, but decided to wait until I'd finished my next project (Caraco & petticoat) before making them to ensure they fitted properly and did not show.
 |
| Aylwen's strapless stays, made in 2006 |
Having used pink for my last set of stays I wanted something different, and working in with the theme of spoiling myself, found some gorgeous cream silk brocade at
Pure Silks in India. Not only did it look gorgeous, it felt gorgeous!
 |
| 100% Silk Brocade |
Next I went through my book collection, hunting for 18th century stays. One book jumped out at me,
Costume Close Up: Clothing Construction and Pattern, 1750-1790 by Linda Baumgarten. The four illustrations below are from this book - there is so much more information in this book that it is a "must have" for anyone sewing 18th century garments.
 |
| Stays foundations |
 |
| Lacing guide |
 |
| I used this method to attach each stay panel to the next one |
 |
| Showing leather binding and taped seams |
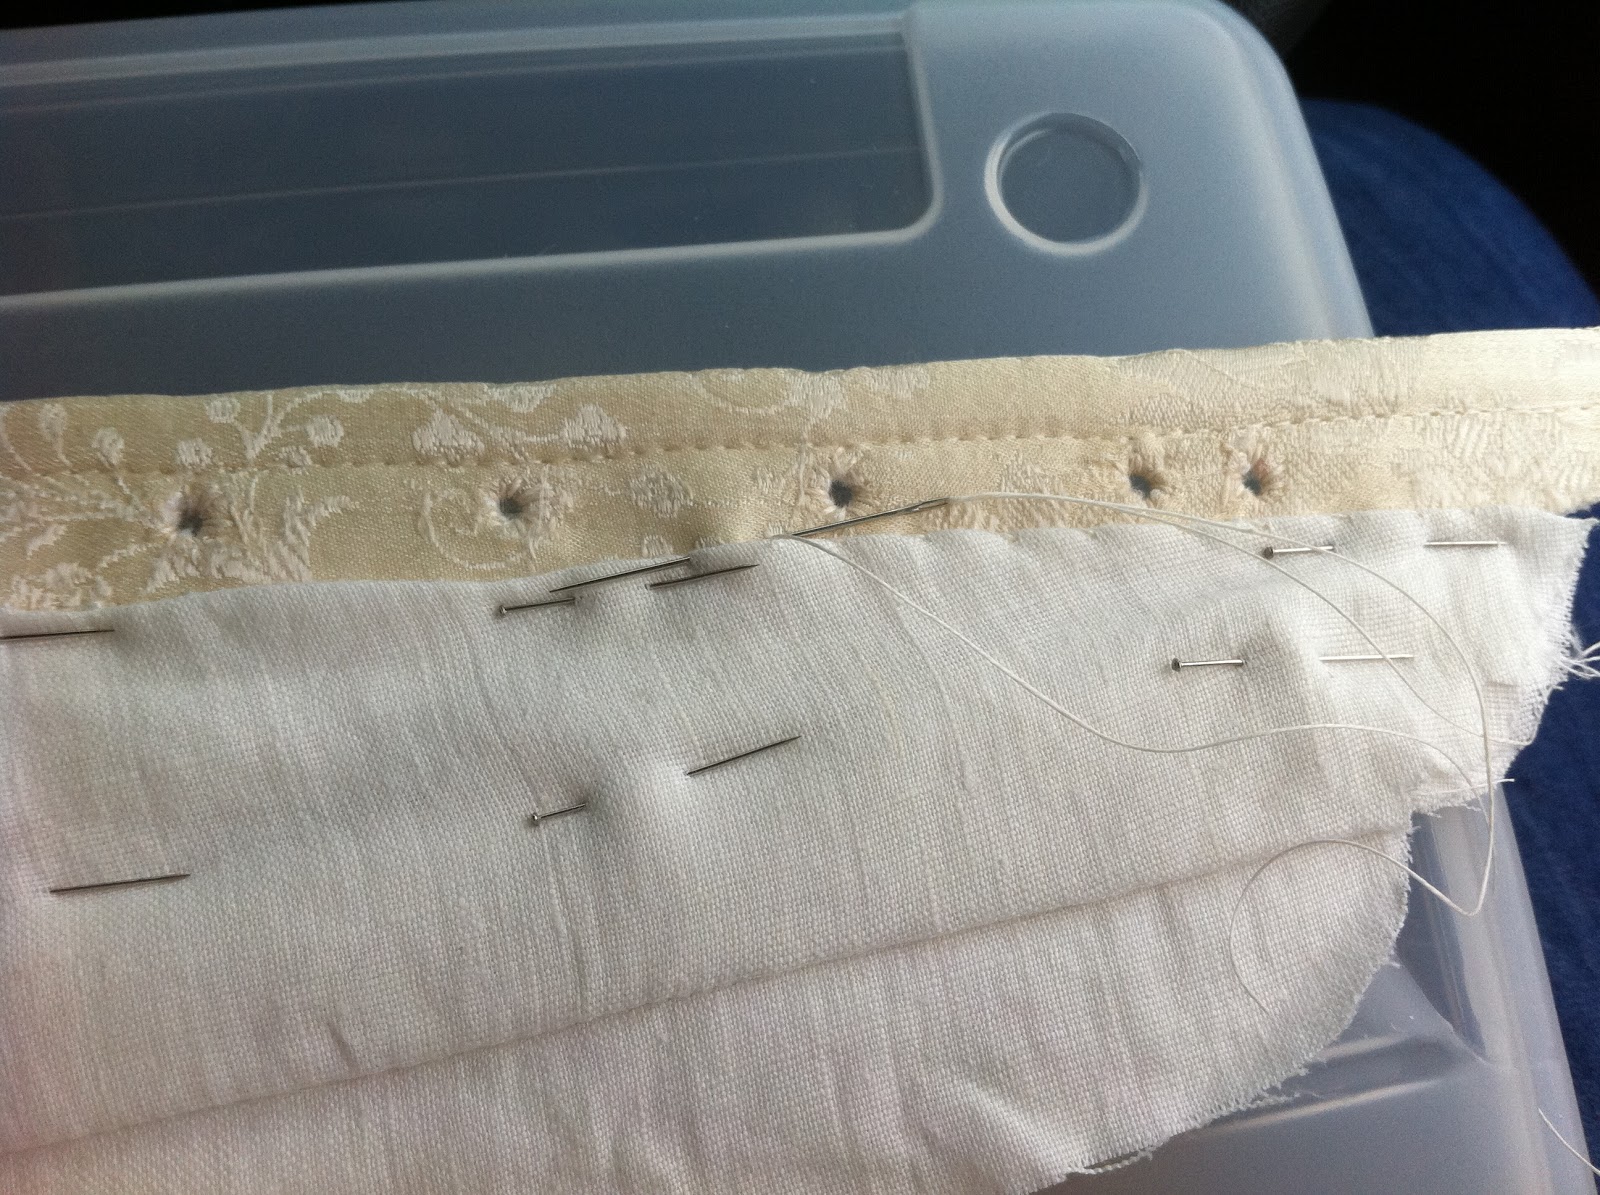
I chose to use four layers for my foundation: silk brocade outer, two layers of cotton duck to sandwich the boning and a layer of linen. I used fine white linen from fabric-stores.com already in my collection and located white cotton duck at my local Spotlight store. I found Gutermann linen thread and beeswax at Addicted to Fabric in Canberra, leather binding at Burnley & Trowbridge and used leather hand sewing needles already in my collection. Because these stays are fully boned I used plastic boning that I purchase boxed in 11 yard lengths from Melbourne. I'm able to cut it easily with scissors, and its strong enough to cope with all the wear and tear I throw at it. This stuff comes in a fabric casing which I remove before using.
 |
| Front lacing |
 |
| Front Lacing |
 |
| Back Lacing |
 |
| Under arm, showing leather binding and tape-covered seams |
 |
| Close up of hand-stitched tape covering seams |
 |
| Front-lace close-up showing hand-sewn eyelets and ribbon |
 |
| Close up of ribbon over front stomacher |
 |
| Close-up of leather binding on tabs |
 |
| Yes, all the leather was sewn on by hand by me! Back stitch and then whip stitched on the other side. |
 |
| Finished, and lying flat for photo. |
 |
| One side, showing tape covering the side seams. |
 |
| Linen lining inside stays. |
 |
| Close up of the leather binding ont he inside - whip stitched this time with linen thread. |
 |
| Another inside shot of the back panel |
 |
| Leather binding going up the edges as shown in the period example at the top of this entry. |
 |
| Close up of stomacher showing comparison of stitches. |
 |
| Callouses where the back of the needle tried to go through my finger. |
 |
| Full-length shot outside - these stays do not photograph well outdoors. |
 |
| Early days - stomacher and its lining cut out. Last chance to see brocade before all the channels are sewn in. |
 |
| Pinning to lining to prevent movement when sewing channels. |
 |
| In progress getting all the channels sewn. |
 |
| Nice close-up of channels. These stays are fully boned. |
 |
| Using the awl to make the eyelets. This was a huge task, using my existing awl and then three different sized knitting needles. Needless to say, I went out soon afterwards and bought a tapered awl! |
 |
| Close up of my hand-sewn eyelets. |
 |
| Someone on facebook likened my stomacher to cricket knee pads! |
 |
| Whip stitching the binding on the inner side of the stomacher. |
 |
Construction method, using the technique illustrated above at
https://blogger.googleusercontent.com/img/b/R29vZ2xl/AVvXsEi89hHEKmdPSvB226A8PY0u2rV2dg94gUKBNPgrjbviSGsAWUeSBy9QBmE0VuwAhQNjx82xX0fEIcJzrQc-1CJ-vw8FTf9t0QACp0H12oeI-kk8Ak2OUMVZnHFhttWObIAhyKMlDVdZ64LY/s1600/IMG_0672.JPG |
 |
| Whip stitching the linen lining to the back edge before working on eyelets. |
 |
It was necessary to use pins a lot as this linen kept moving and stretching.
Would like to use a tighter knit fabric next time. |
 |
| In progress. Nice to have got this far :) |
 |
Hand sewing the tape to the seams, using a running stitch through all layers.
This helped to stabilise the linen lining inside a bit. |
 |
| Sitting in the car while sons did an archery lesson - still hand-stitching all the leather binding. |
 |
| Turning leather through to check it looked ok. Phew! |


2 comments:
Dear Aylwen,
This is a perfectly lovely set of stays, and enjoyed all the construction and "methodry" shots and descriptions. Most helpful! I have Costume Close-Up but am saving this post link for additional info when I make up a next pair of stays.
Many thanks indeed,
Natalie
Post a Comment