Showing posts with label DPP 2011. Show all posts

Nov 3, 2013

Men's Regency Tailcoats

The Regency tailcoat can be made with one of the patterns below and the Kannicks Korner waistcoat pattern is perfect for those wanting historical accuracy.


Aylwen & John Gardiner-Garden, December 2011


Suzi Clarke wrote an excellent article To Cut a Regency Coat where she goes in-depth on the inner workings of the regency tailcoat. Other books that I use regularly for making men's outfits from this period are Federalist & Regency Costume 1790-1819 and The Cut of Men's Clothes 1600-1900. Another book that is often a help, but a bit late for this period is Men's Garments 1830-1900 .
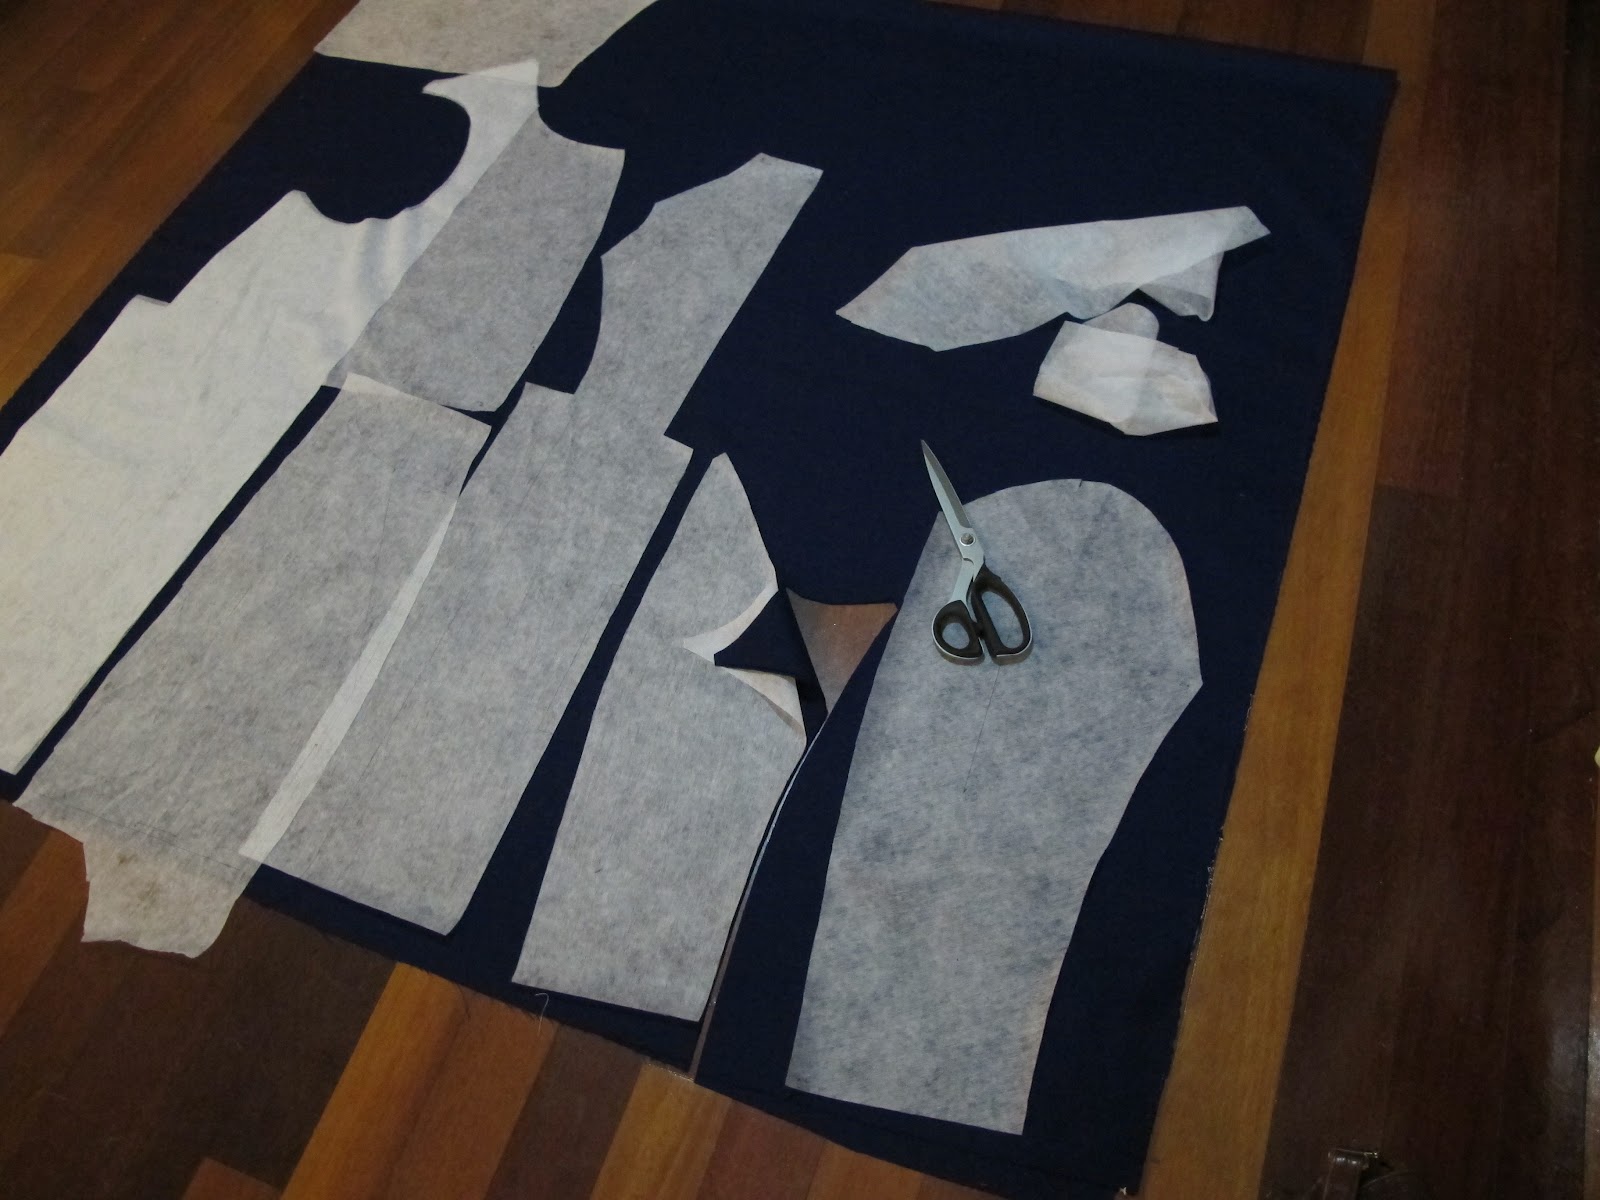
These tailcoats are less tailored than the formal jackets of today, and the construction requires you to work differently to what you expect.

Below are some pictures Aylwen has been collecting over the years to show clients who wish to have a coat custom sewn. These will help you work out what colour wool you want, plus to start thinking about buttons, trims, waistcoat colours and so on.

Aylwen is now taking orders for custom hand-sewn mens hats at http://www.historichats.com


Feb 24, 2012

Evolution of the Regency Spencer?

I've heard it said that the Earl of Spencer singed the tails of his tail-coat while standing beside a fire and then cut off the ends, unwittingly starting a new fashion. Or was it? Looking at these pictures of an early spencer from 1795 at http://www.abitiantichi.it/collezione/abiti/corpino25.html makes me wonder - was it simply evolution?


Feb 6, 2012

Regency Spencer

I love this little silk spencer with its embroidered flowers - and being able to find a cotton velvet to match made it extra special.
My main difficulty with this project was the embroidered flowers - they were very thick and caused havoc in seams. 
I used the Sensibility Spencer Pattern - and would recommend it to others for its ease in making.

I have the bonnet, now I need to make a spencer.


Regency Bonnet

This is the pictorial diary of the makings of my latest regency bonnet, made to match my spencer. I will be teaching others how to make this bonnet at the 2012 Jane Austen Festival Australia in April.


Why indoor soccer? Well, our son was a member of the ACT Disabilities Team in the
Australian Championships in January - so I was sewing this bonnet in the front row!


1812 Regency Tailcoat, December 2011

I originally planned to diary the making of this 1812 Tailcoat. I started with the best of intentions in May 2011, but life intervened - in the name of overseas travel. 
I must say that this coat is the most international garment in my collection. It started life in my Yarralumla studio, and then proceeded to be completely handsewn across the US, Canada, England and Denmark. Starting a new job as soon as I returned from my travels delayed its completion until December 2011.
So I apologise that I do not have the "makings" of this coat - but I do have the memories of sewing it in wonderful locations, surrounded by friendly dancing folk across the world.
To read my research into men's regency garments, please follow the "DPP2011" tag.

John wearing the blue wool 1812 tailcoat in December 2011. 

First toile

Adjusting the shoulder seams.

Ready, set, go!

Starting pad stitching

Silk-lined sleeves


May 22, 2011

Toiles and tailcoats

We spent the weekend preparing our Country Wives (new) regency tailcoat toiles - it takes time but is worth it. The sense of satisfaction when you get to make that first cut into your wool is so good, though a bit scary after all the effort that has led up to it.
Tracing out the pattern

Cutting out the pieces

Adjust pattern pieces
Adjusting on dummy set to size before catching husband
Now that we've done our toiles we're moving on to the pad stitching. When you pad stitch you sew INTO but not THROUGH the outer layer. Using a fine silk thread you need to keep the stitches small and close together or you will end up with dimples showing on the outside. The stitches should not go all the way through the outer fabric. This video shows the technique perfectly.


$0 Web Hosting

Total Page Views