Showing posts with label KCI Dress Project. Show all posts

Feb 3, 2014

1820 KCI Dress Pictures - Your Wardrobe Unlockd


The original gown at http://www.kci.or.jp/archives/digital_archives/detail_59_e.html

At Hyde Park Barracks, Sydney.
The Hyde Park Barracks is a brick building and compound designed by convict architect Francis Greenway between 1818–19; originally built at the head of Macquarie Street (1819) to house convict men and boys. The site is managed by the Historic Houses Trust of New South Wales as a museum open to the public for a modest fee. The site is listed on New South Wales' State and Australian National Heritage registers, and is inscribed on the UNESCO World Heritage List as one of 11 pre-eminent Australian Convict Sites as amongst "the best surviving examples of large-scale convict transportation and the colonial expansion of European powers through the presence and labour of convicts."

This gown is worn with period undergarments: chemise, stays and a linen chemisette.
I made the stays many years ago and they're still going strong!
  
Dancing in the gown at Redcoats & Convicts Day at Hyde Park Barracks

Minding a stall at the Redcoats & Convicts Day when a handsome gentleman comes by to visit...
in the blue wool tailcoat I made him a few years back. So nice to match at last!


The Progress Shots... 

Piping the neckline trim. All piping was hand sewn.


Pinning the trim in place - figuring how to make them lie flat.

Attaching the piped ruffles to the skirt.


Before adding the sleeves
Back of the dress - second attempt. I tried pleats at first but gathers were best with such a ruffled hemline.
Detachable cuffs

Jul 14, 2013

KCI Dress Project (11)

I was able to wear my dress at the Hyde Park Barrack's "Redcoats and Convicts" day yesterday in Sydney. As well as dancing every half hour I had a table in Merchants Row and sold white cotton bonnets.
My dress felt very comfortable with the following added features: 
  • padded hem.
  • cartridge pleating the back skirt
I am still not sure if/when I will add the bodice slashing - maybe when I can find some matching silk taffeta as my blue fabric is very thick and heavy.


Jul 10, 2013

KCI Dress Project (10)

Putting my sewing down for the day - will work on my sleeves tomorrow.
My plan now is to make the top separate to the skirt.

Details of my progress today...
Adding the trim to the bodice, taking care to add ease around the curves so trim will lie flat.

Testing the blue trim - I prefer the narrow version.


Bodice trim finished, bodice lined and pressed.


KCI Dress Project (9)

I am determined to wear this gown on our Tall Ship Adventure this weekend but am still being plagued by questions about how it was constructed. Only the front of the gown was photographed and put online, and my emails to the KCI haven't been answered. I have posted a letter this week in case it gets through. Hoping!
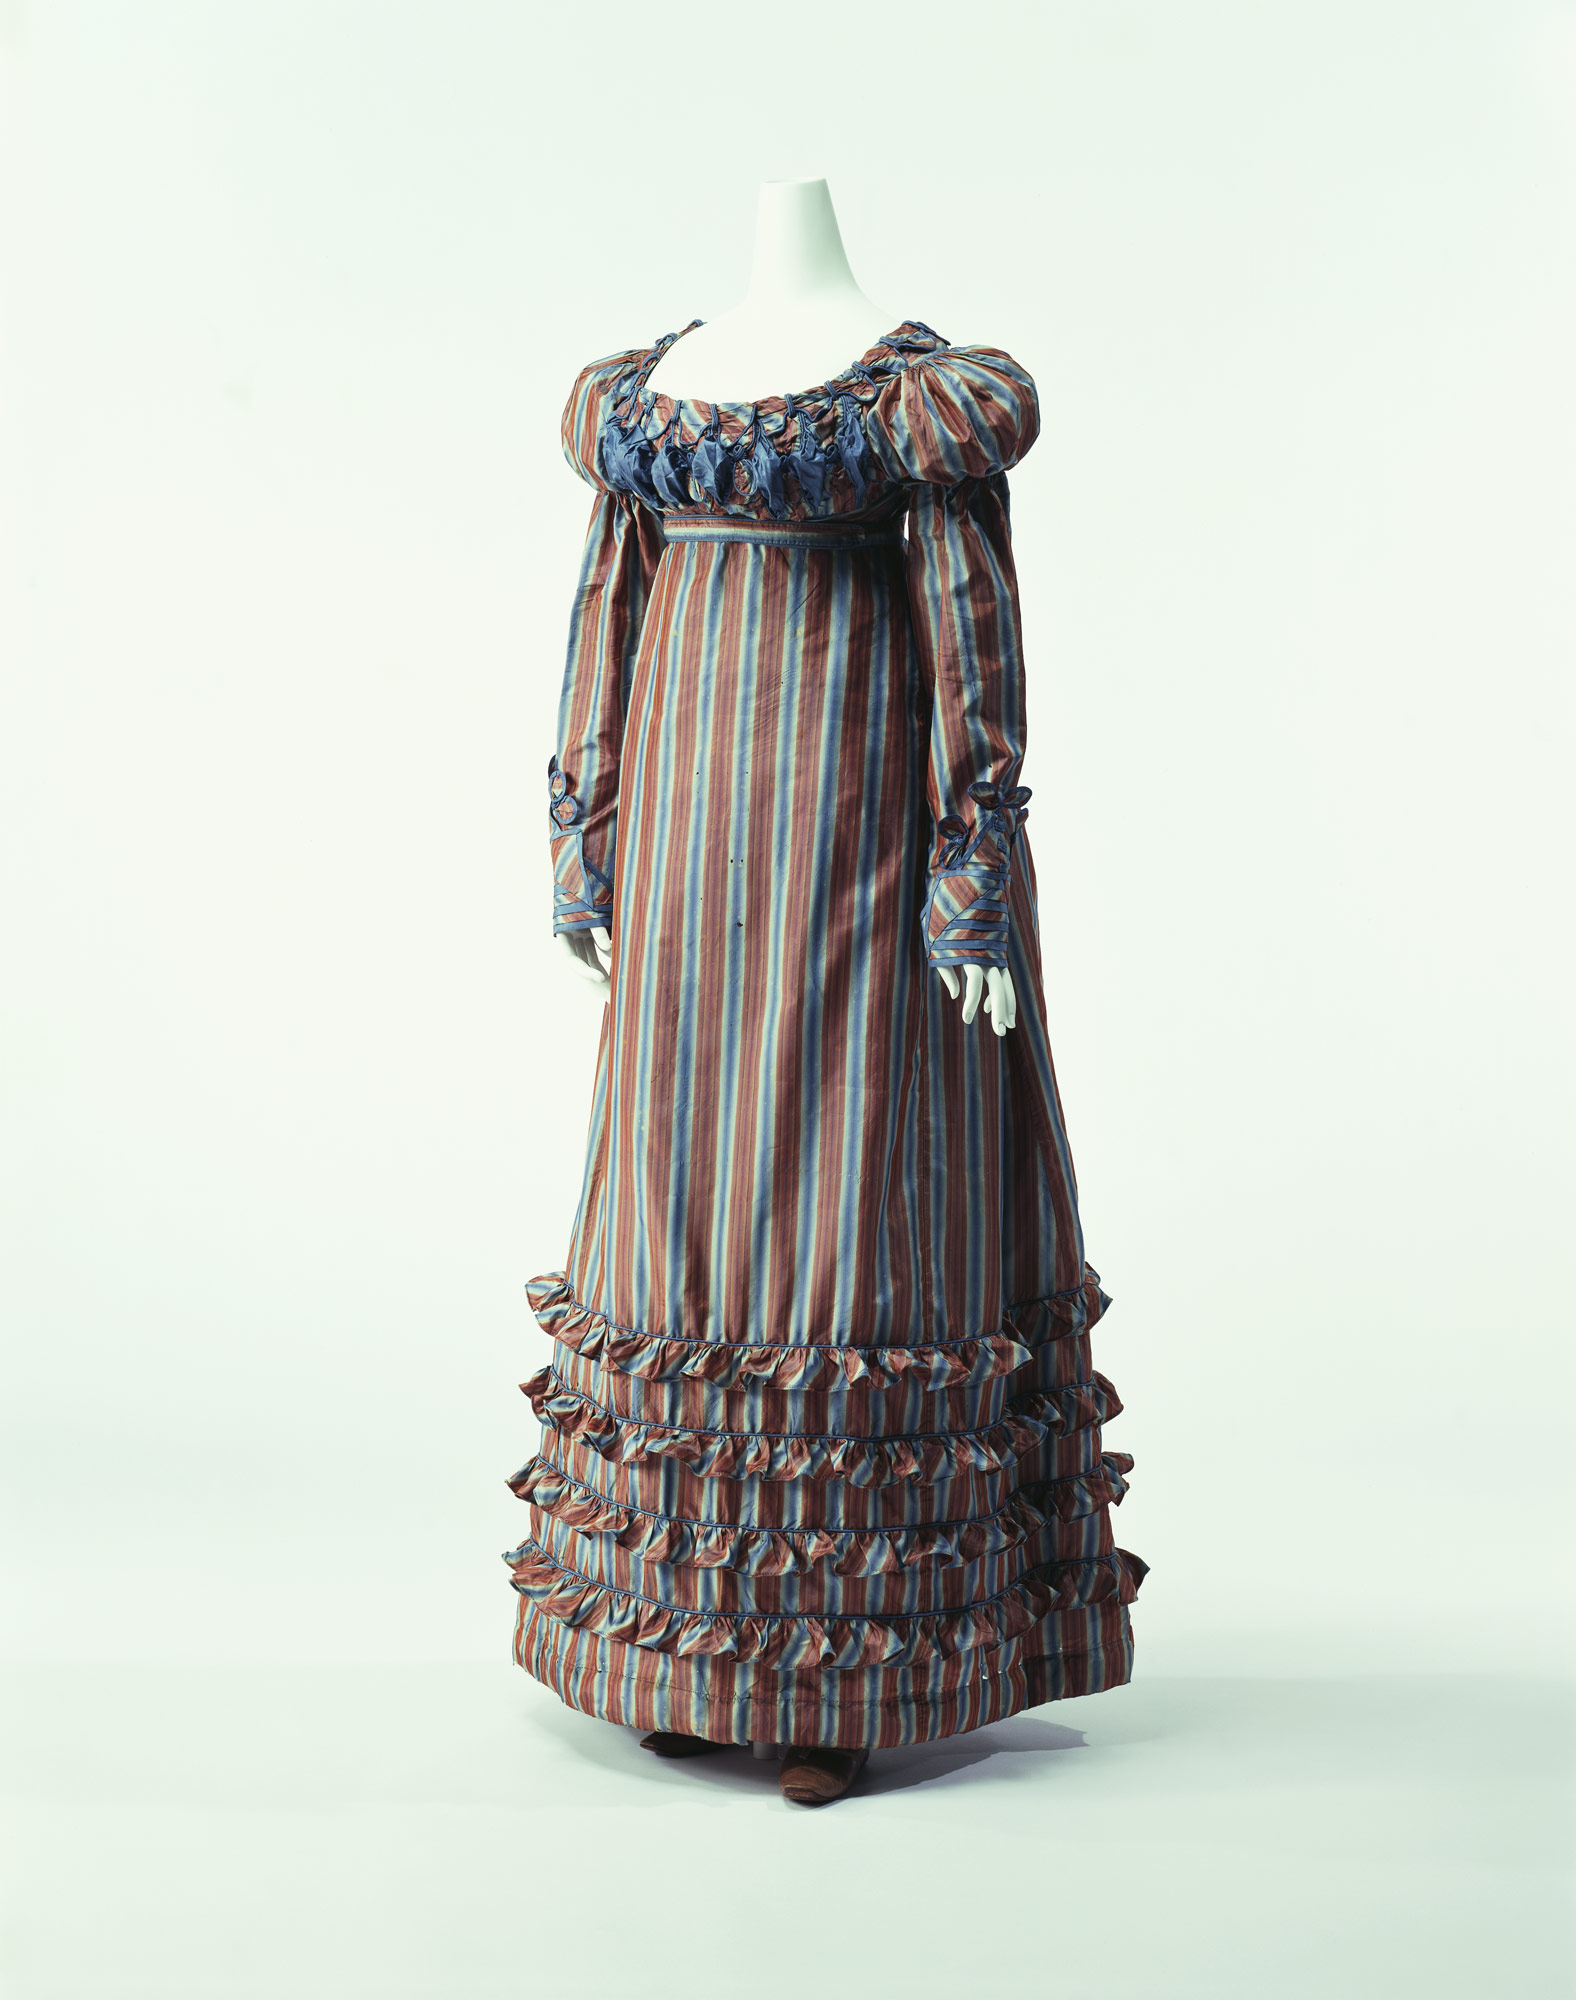
I've been looking at the front again and have a gut suspicion that it is front closing. It is very hard to see, but two clues are a missing loop in the centre front neckline could indicate a centre front opening, or on the right of the picture you can see some piping coming up from the waistband that might indicate that it opens on the side near the left sleeve. This then brings up the question about the neckline trim...
From http://www.kci.or.jp/archives/digital_archives/detail_59_e.html
Anyway, so that I can wear this on Friday I have to do something fast. Until I get some answers, my temporary solution is to make a simple bodice with the ornamental neckline trim, leaving off the front slashes. It will be back opening. When I get some answers, I will then remove the neckline and sleeves and turn the bodice into an under-bodice, and make a separate outer bodice with the slashing, ornamented neckline and the long sleeves.
Last night I spent the evening hand sewing the trim and have pictures below of my progress. I have changed my mind about the neck trim and simply cut a piece of striped fabric on the bias, traced my curves on with tailors chalk, and then sewed the piping onto the fabric.


After this I made a trim to use on the neckline trim - different to the original but using a piping method that Kleidung um 1800 shared and that I felt would look nice.


And lastly, here is a picture of my matching bonnet and parasol to be used with this gown. Sorry, its not such a good photo as it doesn't show the fringing on the parasol.


Mar 3, 2013

KCI Dress Project (8)

Too many times I forget to keep records of what I am sewing. This fabric and project have been sitting in a box in my attic for a few years and this week I got it out to finish off the ruffles and commence work on the sleeve cuffs. It is a slow moving project that I'm working on between client orders. (Many thanks to Sabine who worked out how to make the cuffs, made a wonderful version of this dress and inspired me to get mine completed.)

Original dress at http://www.kci.or.jp/archives/digital_archives/photos/59_xl_AC04428.jpg


Skirt with one row of ruffles attached.

Two rows done!

The ruffles are sewn on upside down, then turned over and pressed.

Four rows complete, just need some more pressing.

Beginning of sleeve cuff. 

Test in place.

One cuff complete.


Feb 25, 2013

KCI Dress Project (7)

I finished the ruffles for the dress last night, ten minutes before midnight. Next time, I will do them when I first cut out the skirt, not after the dress has been finished!


Jan 29, 2013

KCI Dress Project [6]

Finished at last!
PROGRESS DIARY:
I've been sewing my interpretation of this dress over the past few days, taking photos whenever I remembered.
It has ended up quite challenging - I keep looking at pictures and working out ways to copy, wishing I had the actual dress in front of me.
The bodice is the Elegant Lady's Closet pattern, and the skirt will be Jennie's regency dress pattern. I removed about 4 inches from the centre front bodice to make it a fitted bodice.
I don't have time to sew the entire dress by hand and wish to use the machine where possible, but I must say that most of it has ended up sewn by hand, and its taking me longer than I anticipated.

Lining up the stripes on the back

Binding the front open edges

Preparing the front detail. It was easier to bind before cutting it out.

Pinning in place 

Close up showing the binding loops


Gathering the centres of the bows


Three more bows to go. 


Side shot with flash showing first bow

Three bows, one to go. The mannequin is too large so the bodice is not sitting well tonight.


Jan 6, 2012

KCI Dress Project [5]

Not much to report tonight. I've measured the 6cm wide bias ruffle to be 245cm long on each row, then will gather to the skirt circumference.


I've started the slow progress of sewing the rolled hem by hand. 


Jan 4, 2012

KCI Dress Project [4]

I haven't been able to spend as much time on this project as I'd wished, but am spending a few hours every evening.
Late this evening I cut out the front and back skirts from the Sensibility Regency Dress pattern. I'm very lucky that the length of the skirts on the pattern are perfect for my height.
I made a cardboard template with the hem ruffle measurements, then chalked them on across both skirt pieces. Getting four rows of ruffles to sit neatly will be a challenge.
I have cut out the bias ruffles, so tomorrow's job will be to hem them, then attach piping and start applying them to the skirt.

Front and back skirts.

Chalk markings for ruffles

$0 Web Hosting

Total Page Views